
I thought I'd post a quick how-to on my levitation shot from this week. Those of you who already know these steps can just skip to the end of the post :).
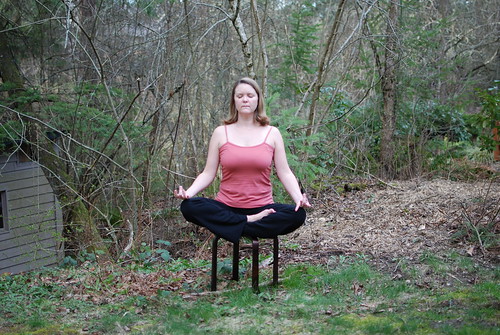
Here is my first shot:
Here's my second:
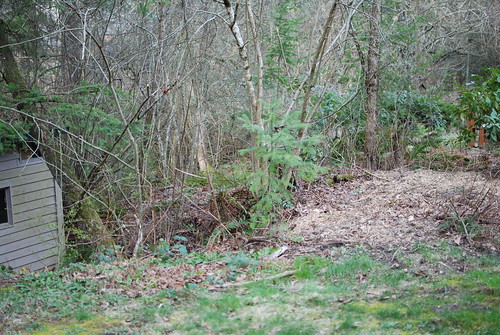
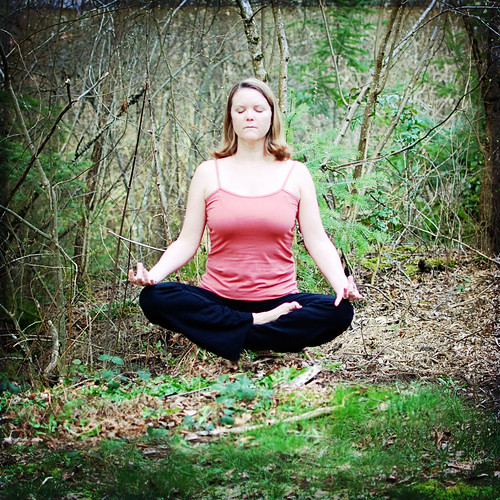
"Aha," I hear you all thinking. All you do in photoshop is layer photo #1 on top of photo #2 and then erase the stool (with the eraser tool). That's all it takes to make someone levitate. Even my kids thought it was pretty cool :). To polish it up, I square cropped it and added a cool free texture on top as an overlay.
Now, on to the upcoming week. Melody and I have chosen WALK for our theme. We're back to "choose your own theme," so don't feel obligated to follow ours.
Looking forward to seeing your next creation...


3 comments:
This is totally awesome! I so trying this with my girl!!
so cool to see your before-during-after! Well done, Megan!
Thanks for the quick tutorial. ;)
Post a Comment